Musings and Inspiration
Dressmaking part 2
Earlier this year I took a dressmaking class at the lovely Evanston Stitchworks.
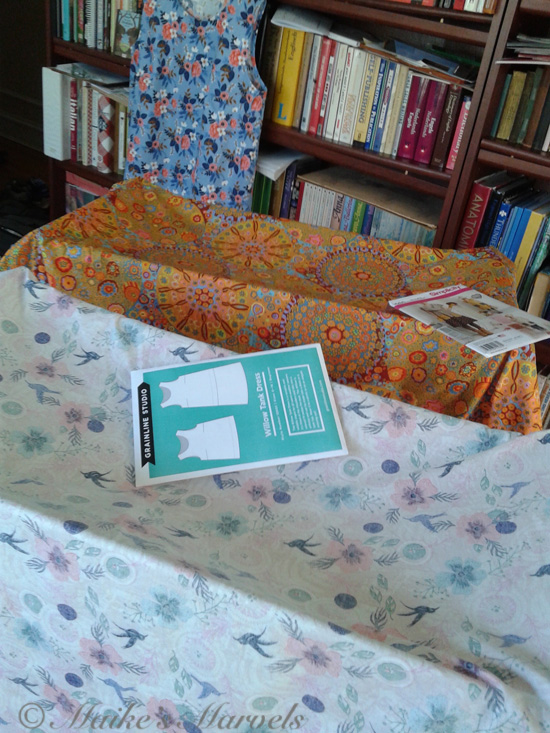
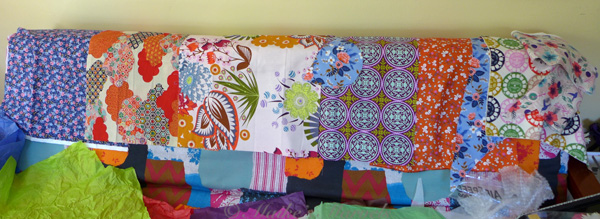
Then when my mom came to visit, instead of heading to the Mall we picked out my new future wardrobe based on the gorgeous fabrics owner Amalia curates at Stitchworks. It was good to get a second opinion on some of the fabrics I had been eyeing.
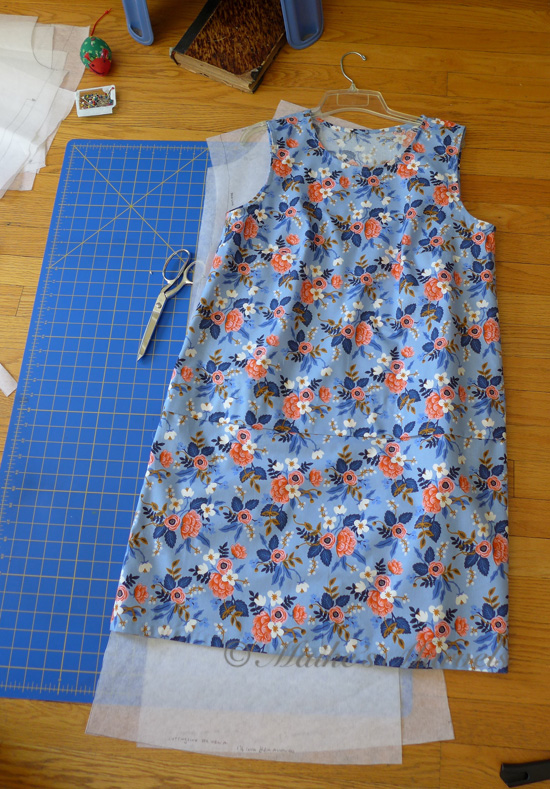
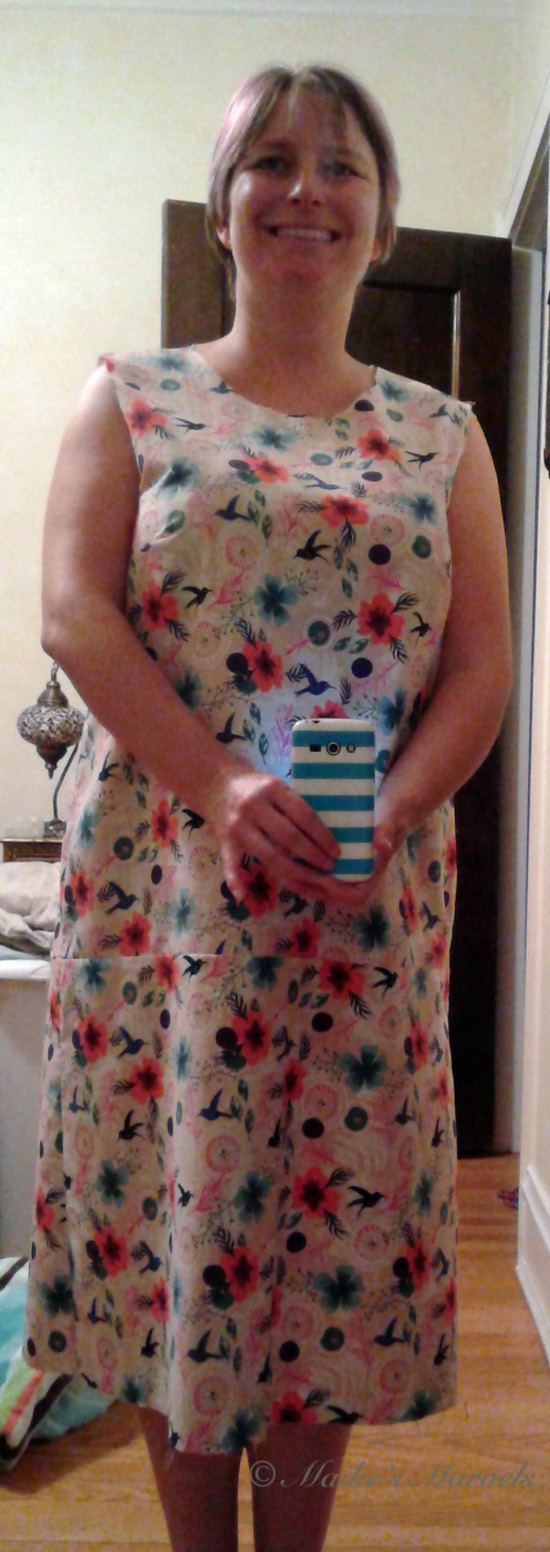
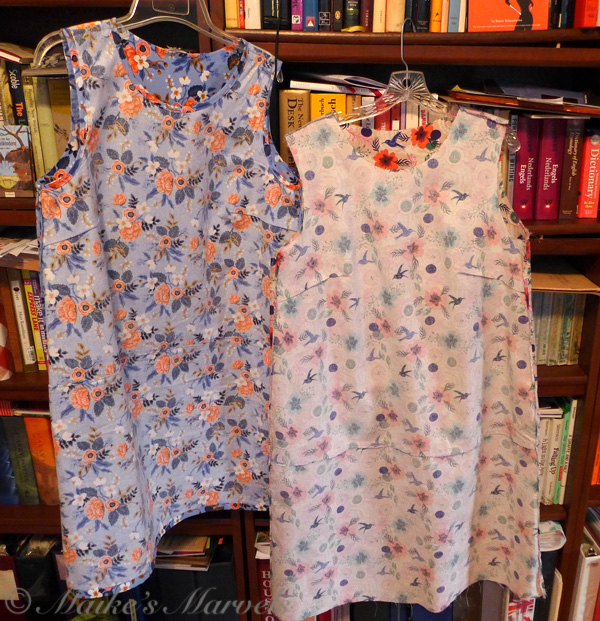
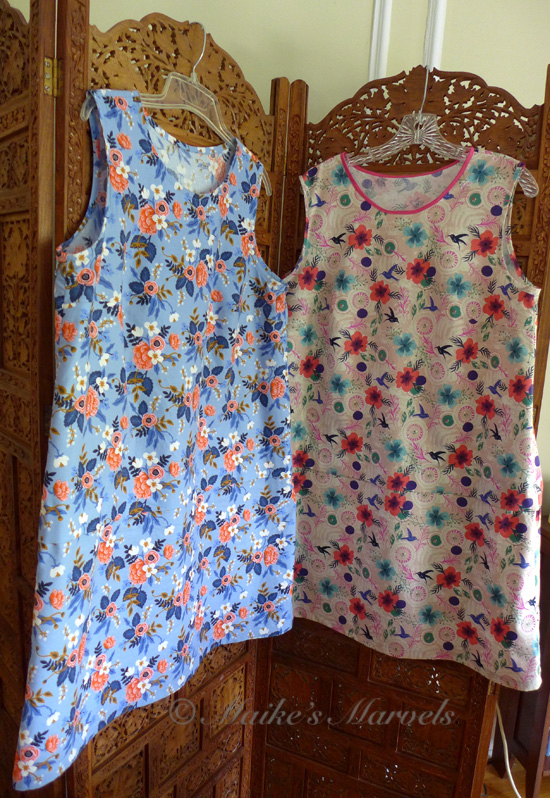
My first mission was to re-make the dress I had learned to do in class. What I learned is that I had some serious beginners luck with the blue version.
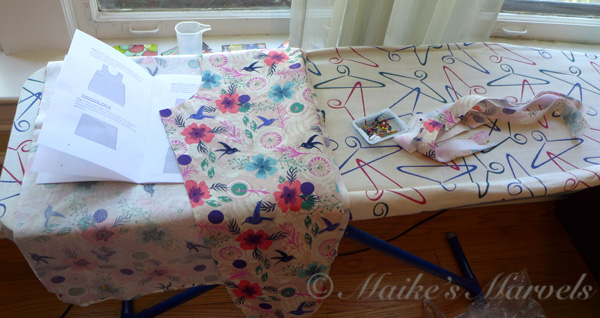
I prepped the new fabric and impatiently waited for it to dry.
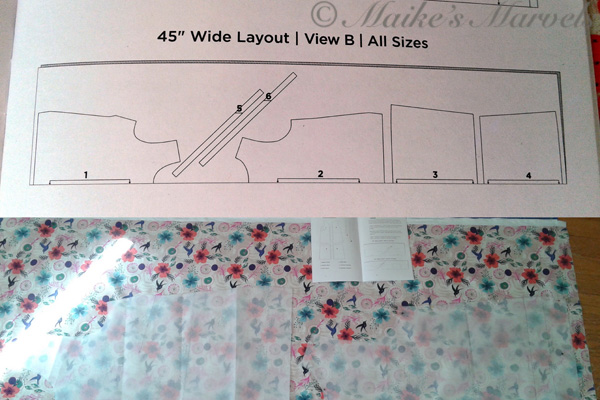
Because this fabric has birds flying in a specific direction, I already needed help in the cutting stage, not sure how to account for the direction of the fabric based on the layout in the booklet. I swung by Stitchworks with photos, and I was directed along the right path.
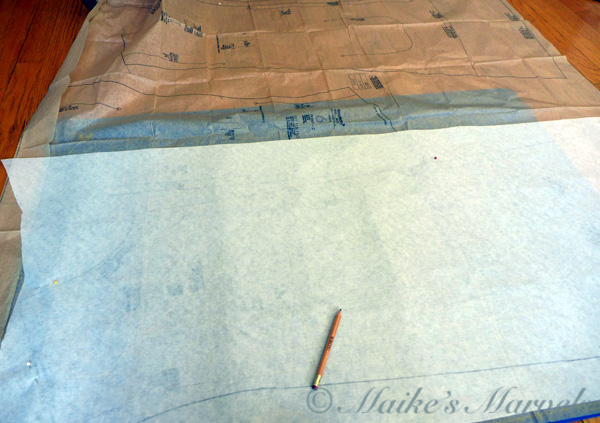
I also cut up the other pattern, so I checked the interfacing template against the old dress just in case.
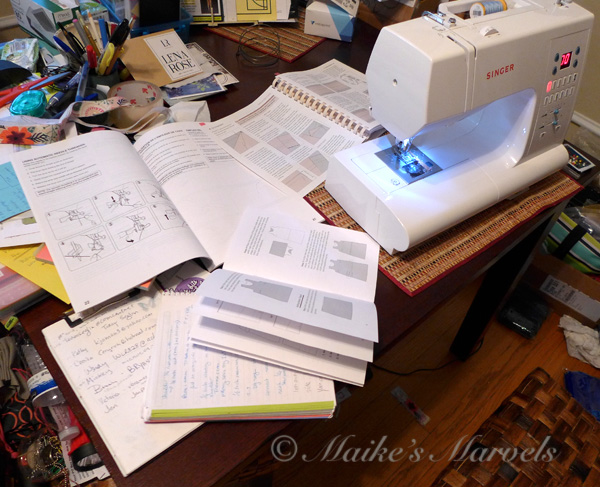
Then, I realized that it had been a long time since the workshop, and I forgot the steps to many sewing parts. So I consulted notes and a sewing manual to jog my memory.
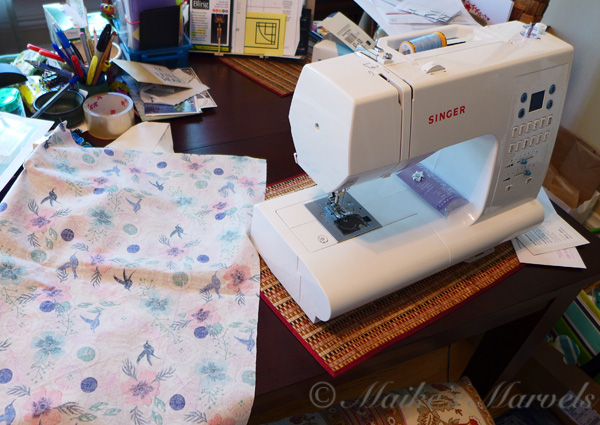
I pinned everything together and started following instructions.
Soon the shoulders, sides and skirt were joined. I tried it on to make sure the darts were in the right place.
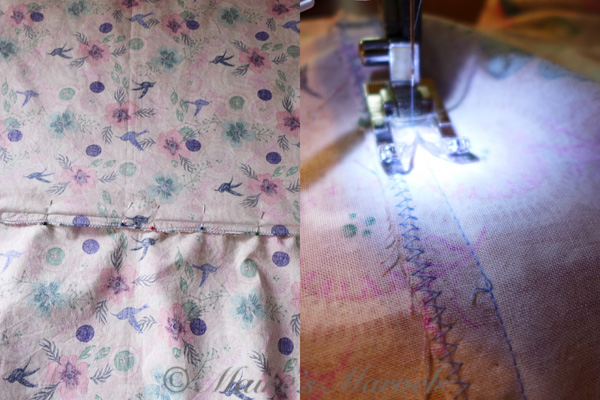
Then I realized that Amalia had helped me along on the dress-fold in a different way than the pattern instructions. The instructions called for sewing the dress sides before the skirt fold.
With French Seams, this made for some bunching on the sides. It had already taken me 3 tries to get the side seams right.
In my bonus session, we had actually sewn the top and skirt together first and then closed the side seams, but I had been too engrossed in following the written pattern instructions this time around.
I didn’t want to rip up the sides of the dress (again!), so, I soldiered on with ripping, re-stitching, and ripping again for the pleat. After a few adjustments, I made peace with attempt 3.
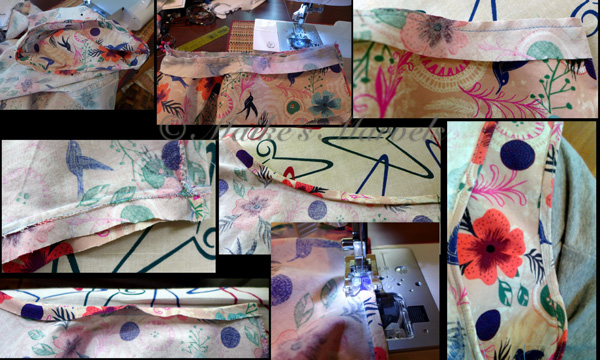
Replicating the perfect collar seams was a challenge too. While there are a plethora of Youtube tutorials out there, finding the one resembling what I learned was a challenge, so I did what I could.
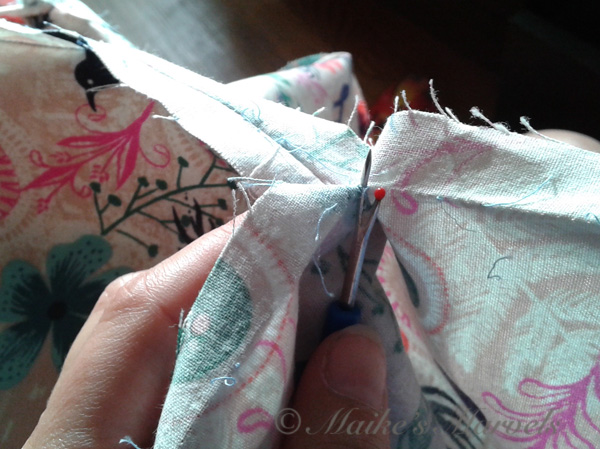
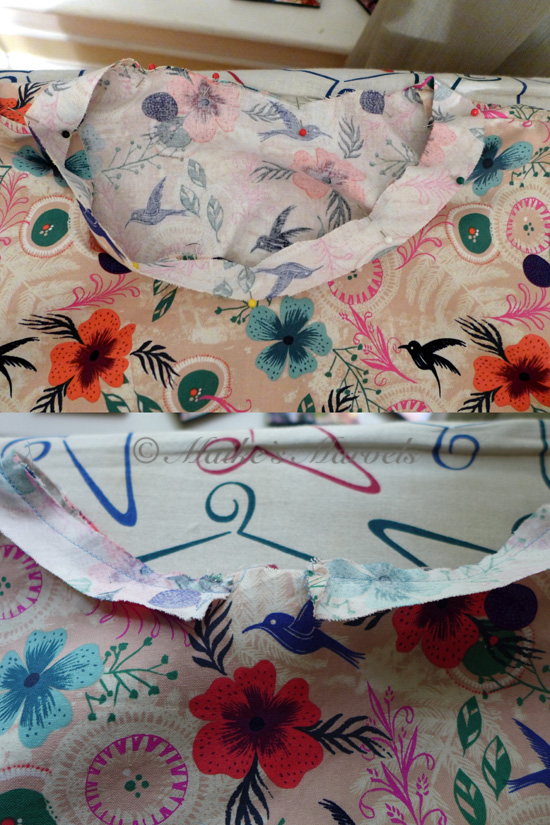
I know the flaws the armholes have, but hopefully the fabric will detract from all the (re)stitching. Then, in the final stretch, it turns out my neckline was larger than the bias I had cut out.
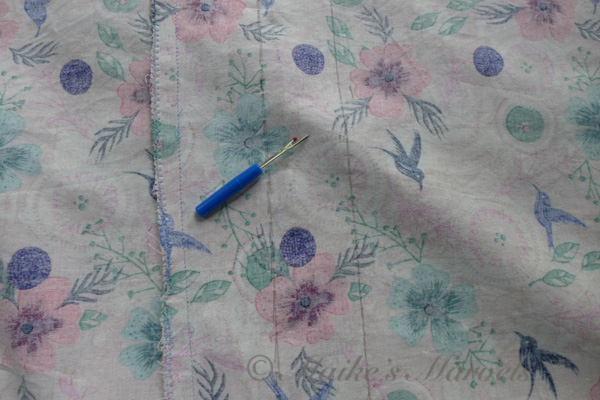
Oh seamripper, here you are again…
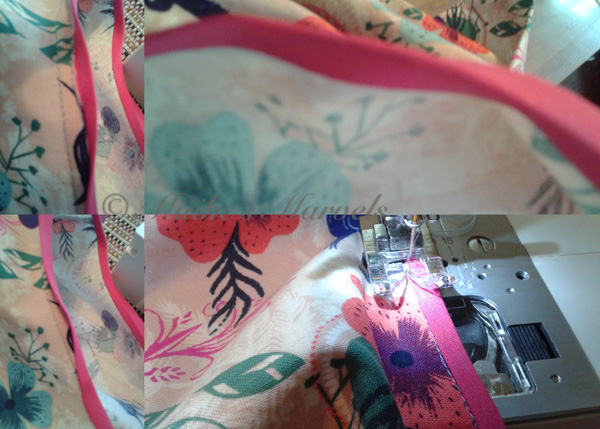
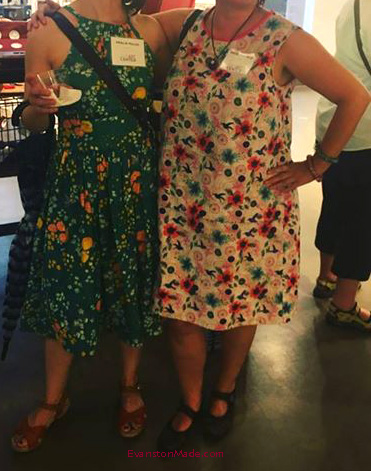
Thankfully I had purchased bias tape for a future project that matched the current fabric, so with the help of YouTube tutorials I was able to finish the dress in time for the Evanston Made Sip and Shop. I took pictures for visual reference next time.
I actually like the accent, so this mishap was a blessing in disguise.
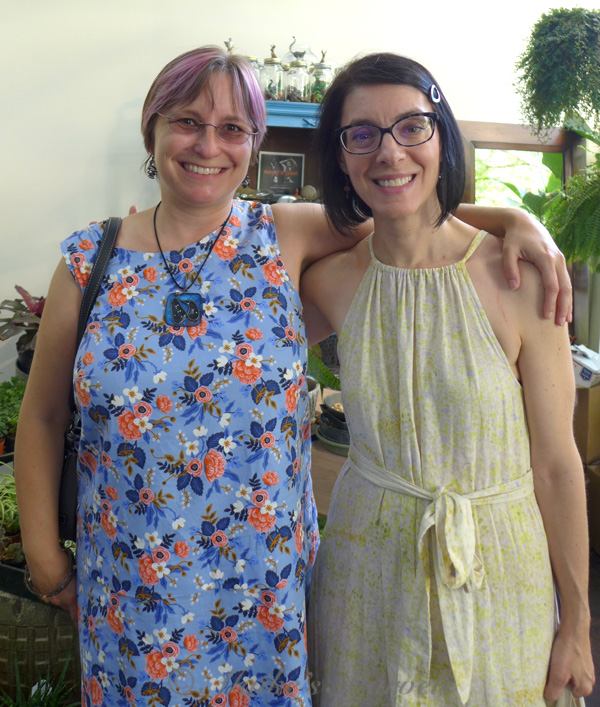
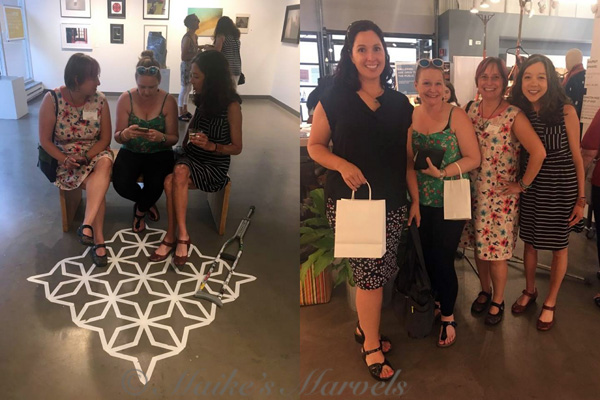
It was fun to meet friends and hang out with local art for the final night of the exhibit.
Amalia was happy to see the dress finished in time as well, and rocking her latest creation.
I am happy with how it all turned out, and looking at both dresses cheers me up. I may shorten one of the hemlines, but haven’t decided on that yet.
Next up is a more complicated project, for which Amalia warned me to start with a sheet to get the sizing worked out. I’ll be planning some tutorial trips over to Stitchworks for that one. I am looking forward to having a studio dress in addition to then trying on a bolder fabric for outside wearing.
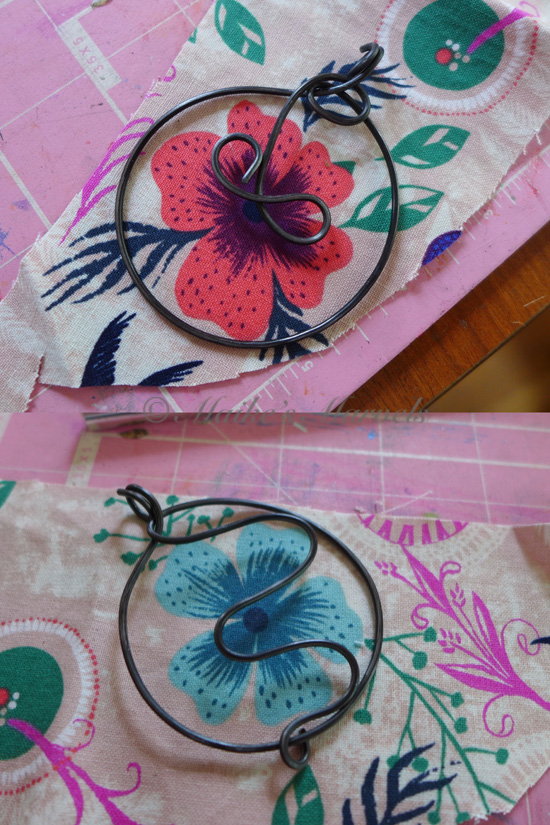
The Fall workshop line-up is in the works now, so check back on the Evanston Stitchworks page for new patterns and techniques to be taught. Meanwhile, I have many fabulous fat quarters awaiting conversion into pendants.
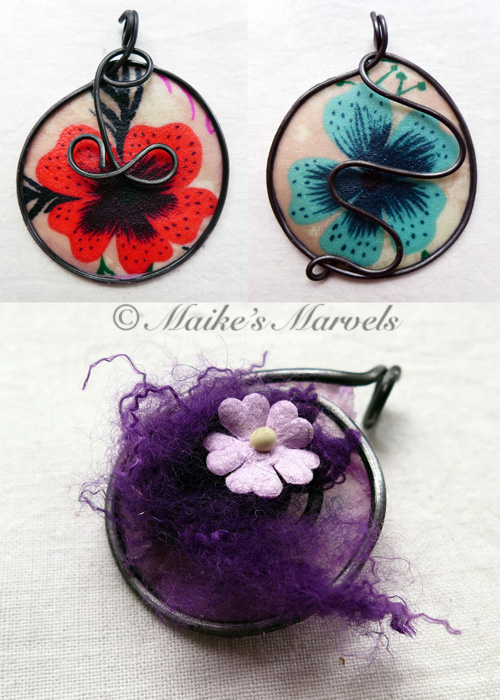
It’s fun to play with how the wax interacts with cotton and the different effect that has with the wire.
These are bigger pendants than my usual preference, but I know they will find homes.
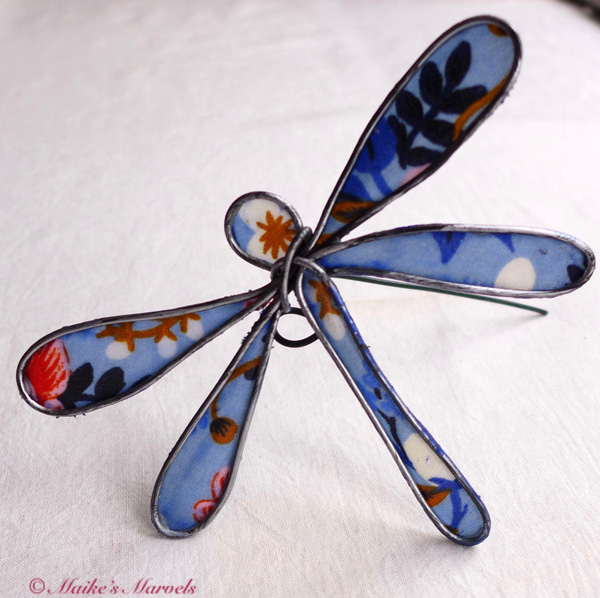
One dragonfly stake with my blue dress fabric is undergoing garden testing in Germany right now. My own outdoors dragonfly is still doing well after a few storms and heat waves.