Musings and Inspiration
Upgrading my Studio Space
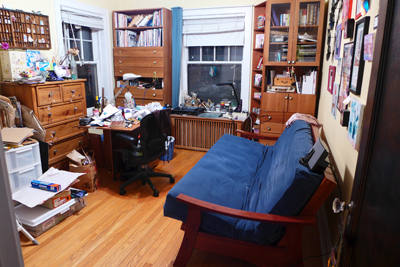
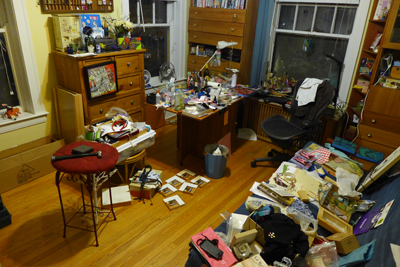
It is pretty telling that with all the documenting I do, I have not taken a single photo of my studio since my last studio view blog post in 2014. As my creations toggled between jewelry making and larger wall collages, I’ve been envisioning an extra table in my space, but wasn’t sure how to make it happen since storage was becoming an issue.
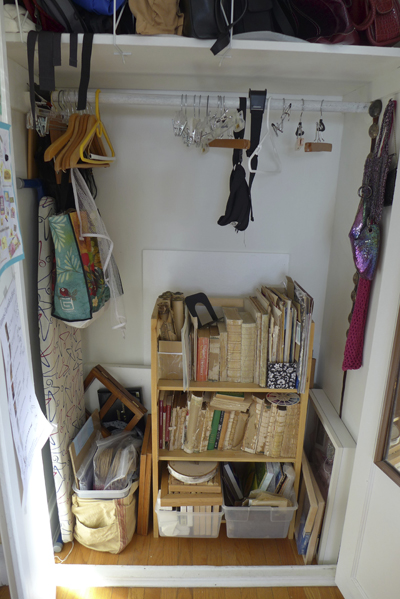
When I met an organizer at a networking event last fall, I blurted out that I wanted to organize my studio after the holiday season, and once I made that proclamation, it took hold. After a meeting on closet organizing, I started sorting through everything.
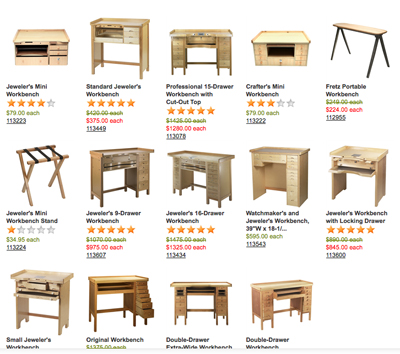
As I reviewed other people’s spaces in books and thought about my needs, I started poking around for jewelers’ workspaces online, and came across fabulous workbenches.
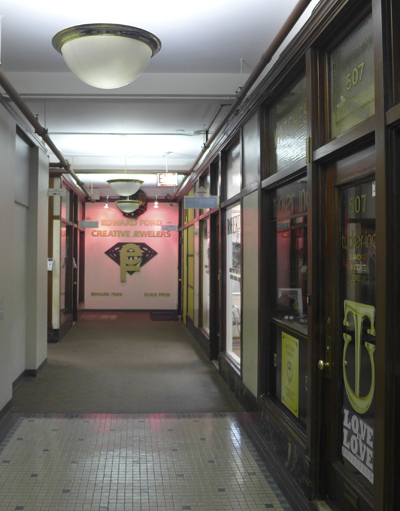
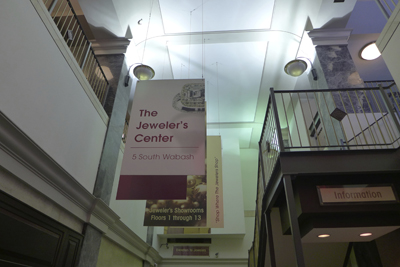
Not encouraged by the online reviews (arrived damaged, had to drill holes to assemble), I poked around some more and found a local store that carried benches. So I went downtown to check it out.
Jeweler’s Row takes on a whole new meaning for me as jewelry tool and supply stores are discovered.
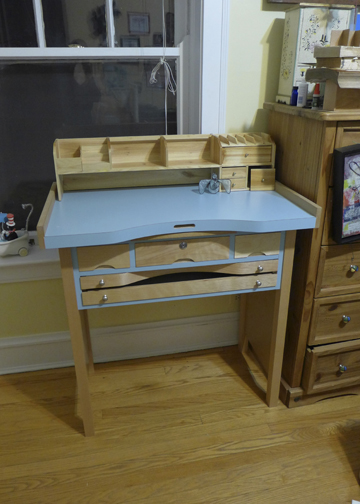
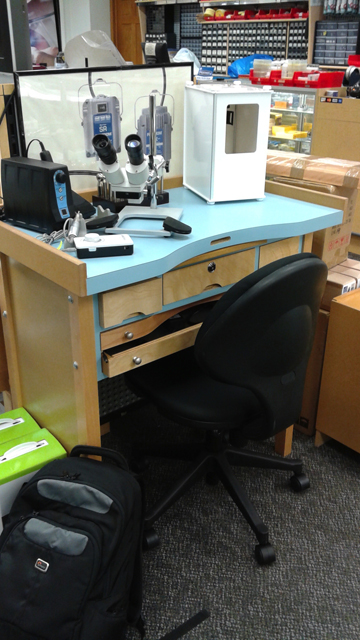
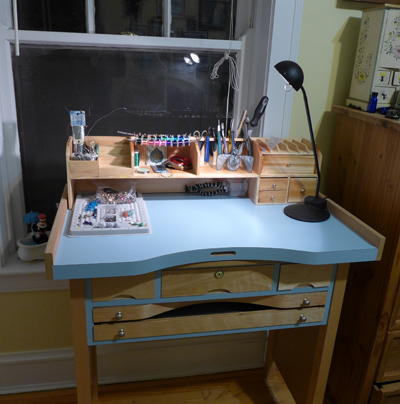
The in-store sample was exactly what I wanted, and the order was made.
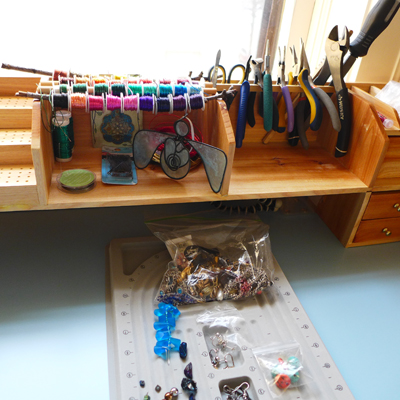
I also ordered a desktop organizer which has Jeweler-specific functions I need to investigate.
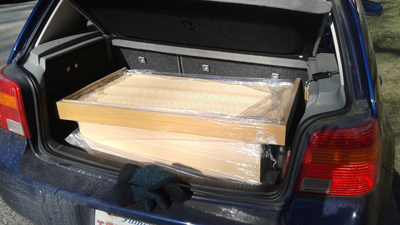
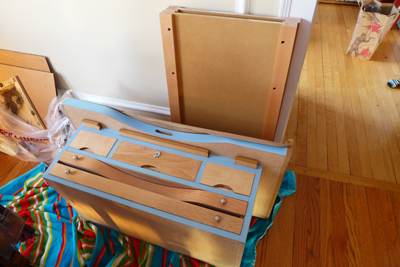
After getting it loaded into my trunk (barely) I happily awaited my friend’s muscles to carry it up three flights of stairs.
Initially I held off on assembly to get the closets installed first, but a delay in shelving had me itching to assemble this before the studio was fully re-assembled.
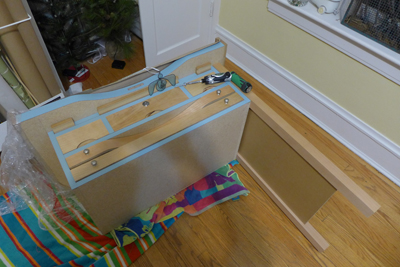
Getting the legs on was easy-peasy, but how to lift up this hefty and bulky piece by myself?
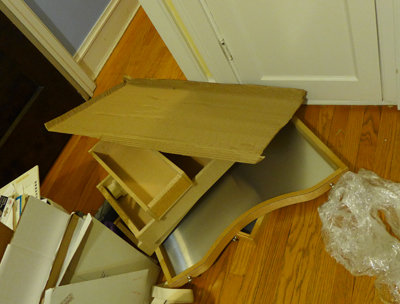
I took out the drawers that didn’t change much of the weight (the table top is solid).
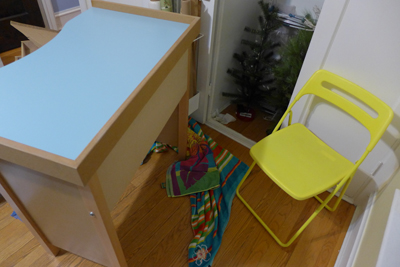
After some online browsing I learned to prop it up with a chair, so my trusty yellow chair became my assistant.
A bit of gravity finagling soon got the bench into its intended upright position.
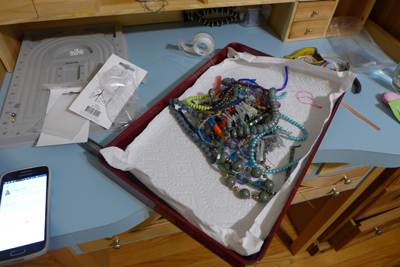
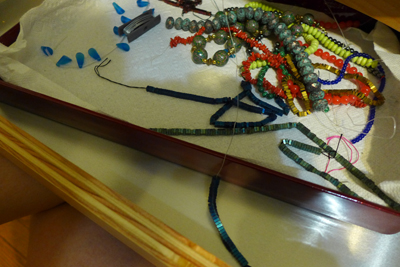
I decided to restring some beads in my collection to get a feel for the workspace.
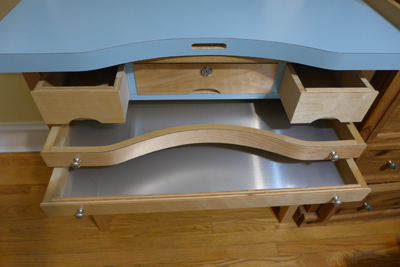
The drawers have functions I don’t even know about yet.
The catch tray is handy though.
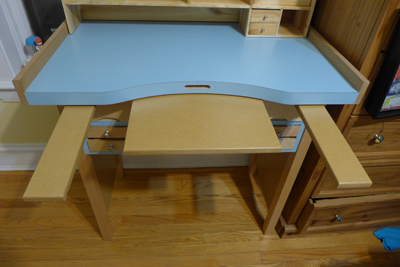
It also has nifty armrests.
Soon task lighting was added, and I transferred some of my tools from the big table.
I am excited to work on my next commission from this new dedicated workstation.
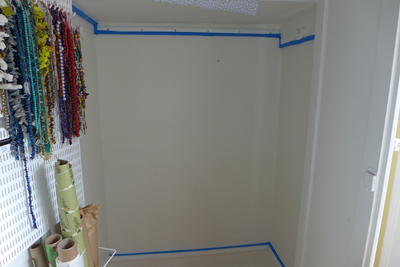
Meanwhile, my shelves are on order for next week’s closet organization. Elfa has a fabulous wrapping station that I modified.
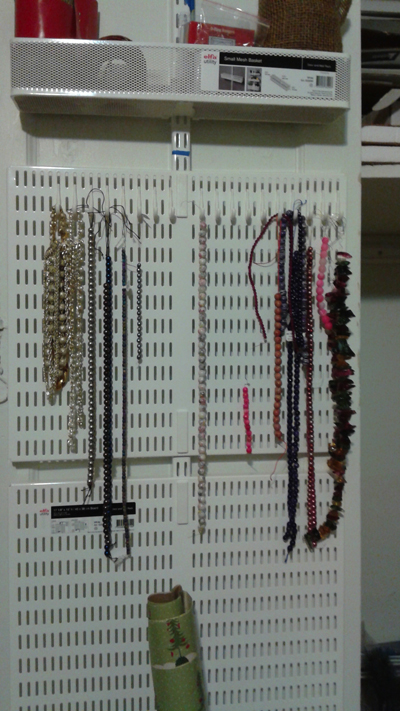
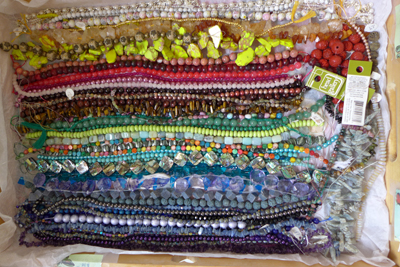
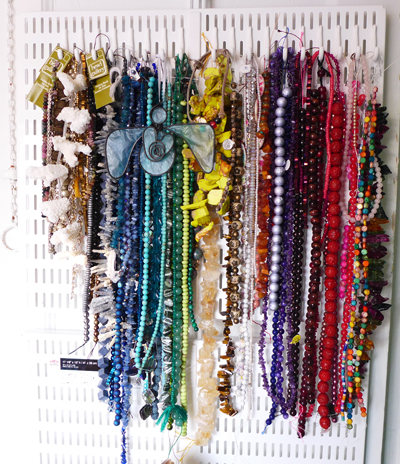
I saw a pegboard wall of beads in a book which this door-installation is perfect for. My beads had been gathering on a tray for years.
I rediscovered many gems as I re-sorted them. I need to pick up more hooks to space them out, but I love the beginning of it.
Stay tuned for the closet reorganization adventure.
I’m days away from getting the new shelves installed.
It feels very empowering to truly invest in my studio space and give my different modes of creation dedicated work areas. While it will still function as a guest room, it was time to adjust the space for its primary purpose.
After all, there is so much inspiration to put into tangible objects!

